
If you’ve ever had seventeen browser tabs open, three half-finished Google Docs, a folder full of PDFs you swore you’d read, and a YouTube video paused somewhere in the middle — this post is for you.
We’ve all been there. The research is technically there—it’s just… everywhere. And finding the right piece of information at the right moment feels more like archaeology than productivity.
Yesterday, I introduced you to NotebookLM — Google’s free AI research tool that works only with your uploaded documents. If you missed that post, go give it a quick read first. Today, we’re getting our hands dirty by showing you exactly how to use NotebookLM to build a localized AI assistant.
This is your complete, beginner-friendly walkthrough for building your very first Smart Notebook in NotebookLM — from a blank workspace to a fully interactive AI research hub. Let’s go! 🚀
Think of it this way: a regular notes app is like a filing cabinet. You put things in, and they just… sit there. Passive. Silent. Waiting for you to remember they exist.
A Smart Notebook in NotebookLM is completely different. It’s more like a research assistant who has personally read every single document you’ve handed them — and is ready to answer questions, spot connections, and pull out insights on demand.
The one golden rule that makes this work? Source-grounding.
NotebookLM only uses the files you upload. It won’t wander off to the internet or make things up. Every answer it gives you comes directly from your documents — and it will show you exactly where it found the information.
That’s what makes it trustworthy, and that’s what makes it genuinely useful.
✅ Step 1: Set Up Your Workspace (How to Use Notebook LM
Let’s start from scratch.
- Go to
notebooklm.google.comon your desktop or phone. - Sign in with your Google account.
- Click the big
"Create new notebook"button on the main dashboard.
A fresh, blank workspace will open — along with a prompt asking you to add your first sources. That’s it. You’re in. Clean slate, ready to go.
📂 Step 2: Feed the AI — Add Your Sources
Here’s where the magic actually begins. Your notebook is only as useful as what you put into it — so let’s load it up.
NotebookLM accepts a surprisingly wide range of formats:
- Google Drive: Pull in Google Docs, Slides, or Sheets directly.
- Local Files: Upload PDFs, Word documents (
.docx), TXT files, or Markdown notes. - Web Links: Paste any website URL and the AI reads the full page text.
- YouTube Videos: Paste a public YouTube link and NotebookLM analyzes the full video transcript automatically.
- Web Research: Use the built-in Fast Research or Deep Research tools to let the AI pull relevant web content directly into your notebook.
🎯 Your Action Step: Pick one specific project — maybe “Tax Planning 2026”, “Learning a New Skill”, or “Blog Research for Next Month.” Upload just 2 to 3 files or links related to that topic. Keep it focused to start.
🏷️ Step 3: Organize with Smart Labels
Once your files are uploaded, they’ll appear in the Sources sidebar on the left. A couple of things to know here:
- Auto-Categorization: If you upload 5 or more sources, NotebookLM will automatically group and label them by topic. No manual sorting needed.
- Manual Control: Click the settings icon next to any source to rename it, add a custom label, or toggle it on and off. This is really handy when you want the AI to focus on specific documents and ignore others temporarily.
💬 Step 4: Start Chatting with Your Documents
Okay — this is the part that genuinely feels like a superpower the first time you try it.
As soon as your sources are processed, look at the Chat Panel at the bottom of the screen. NotebookLM will immediately show you an auto-generated summary of everything you’ve uploaded. From there, you can ask it anything.
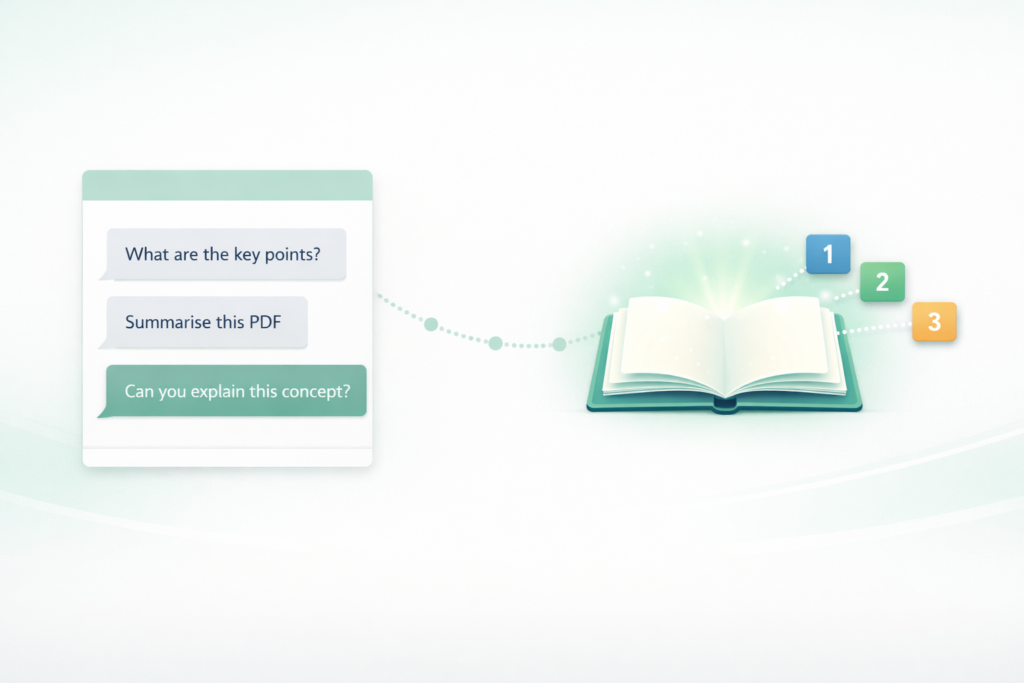
Some prompts that work really well:
- 💬 “What are the key deadlines mentioned in this document?”
- 💬 “Summarize the main points across all my uploaded PDFs.”
- 💬 “Give me a bullet-point list of action items from this YouTube video transcript.”
- 💬 “Where do my notes disagree with the article I uploaded?”
Every single answer comes with numbered citations. Click any citation and it jumps you straight to the exact paragraph or timestamp in your source. You can fact-check the AI in seconds. No more wondering, “Wait, where did I read that?”
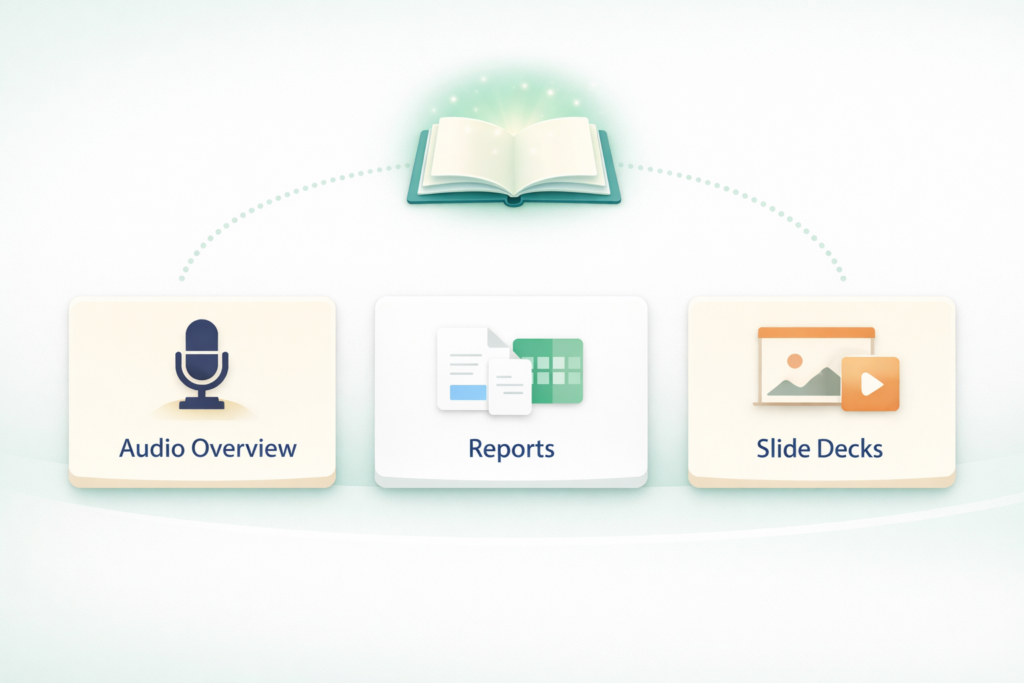
🎛️ Step 5: Use the Studio Panel to Create Real Assets
This is where NotebookLM goes from “impressive” to genuinely wow. Head over to the Studio Panel on the right side of your screen to turn your raw research into something you can actually use and share.
🎙️ Audio Overviews — Your Personal AI Podcast
Click “Generate Audio Overview” and NotebookLM transforms your documents into a natural, engaging podcast-style conversation between two AI hosts. They discuss your content, use analogies, and make even the driest research actually enjoyable to listen to.
- Pro Tip: Before generating, you can give the AI a custom prompt — tell the hosts what angle to focus on, what to emphasize, or even what language to use. It’s surprisingly flexible and perfect for when you’d rather listen to your research than read it! 🎧
📊 Reports and Spreadsheets
Need a formal summary, an executive briefing, or a structured data table? Click Reports and the AI suggests dynamic report formats based on your content. You can export directly to Google Docs or Google Sheets in one click.
🖥️ Slide Decks & Infographics
Need to present your research? The Slide Deck tool builds a complete presentation narrative from your uploaded sources. Export to PowerPoint (.pptx) or PDF and save yourself hours of staring at a blank slide.
🤝 Step 6: Share and Collaborate
Research doesn’t always happen alone. Once your notebook is set up, click Share in the top right corner.
- Viewers: Can read your sources and interact with the chat.
- Editors: Can add files, delete sources, write notes, and work in the notebook right alongside you.
This is incredibly useful for team projects, study groups, or even collaborating with a virtual assistant.
💡 Quick Tips Before You Dive In
A few things I wish someone had told me when I started:
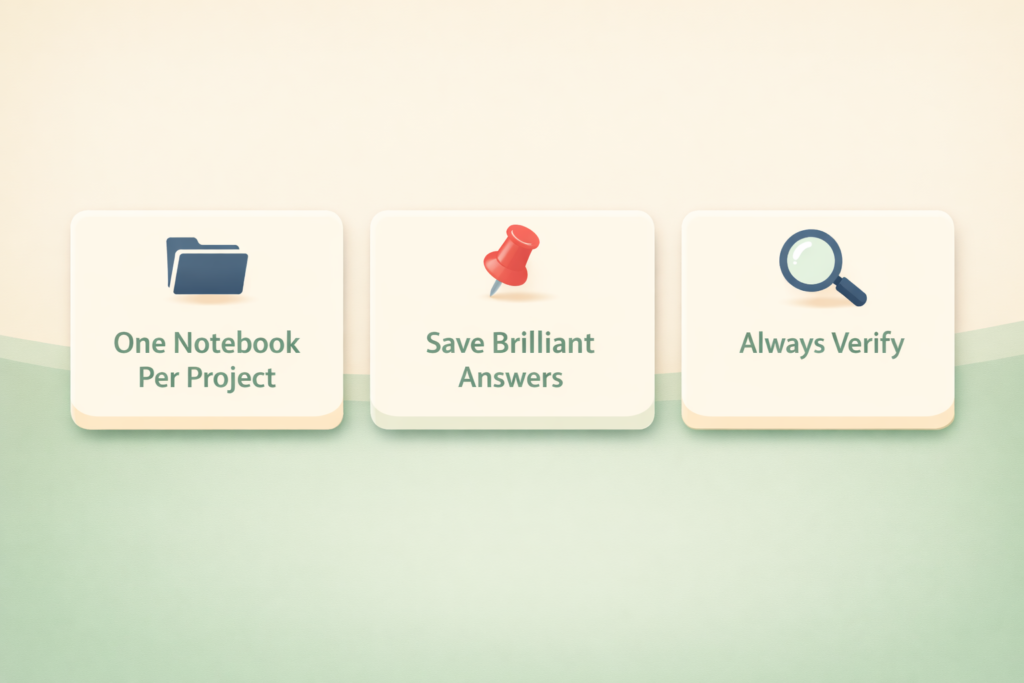
- One Notebook Per Project: Don’t dump everything into one place. Keep a separate notebook for your taxes, your blog research, and your fitness goals. The more focused the notebook, the sharper and more accurate the AI’s responses.
- Save Brilliant Answers: When the chat gives you a response you love, click “Save as Note” to pin it inside your workspace. Don’t let good insights disappear into the chat history.
- Always Verify High-Stakes Information: NotebookLM is grounded to your data and very reliable, but for anything critical — financial, medical, or legal — always use the inline citations to double-check the source yourself.
🎯 You’re Ready to Build
Honestly? Setting up your first Smart Notebook takes less than five minutes. But the hours it saves you — no more skimming the same PDF three times, no more “where did I save that?” panic — are very real.
Pick a project that’s been sitting on your mental to-do list. Drop your documents in. Ask your first question. And if you’re feeling adventurous, hit that Audio Overview button and listen to your research like a podcast on your next walk! 🎧
Have you built your first Smart Notebook yet? What project are you starting with? Drop it in the comments — I’d love to hear! 👇