
Yesterday, we talked about why Mem deserves a spot in your second-brain toolkit — the app that organizes your messy, half-formed thoughts without asking you to lift a finger. Today, we’re getting practical. If you read that post and wondered exactly how to use Mem AI to clear your mental clutter, this guide is for you.
No jargon. No assumed tech background. Just a clear walkthrough from “never opened the app” to “actually using it daily.”
🪴 Step 1: Sign Up and Get Oriented
Head to Mem’s official website and create your account. You can sign up with email or through Google — either works fine.
Once you’re in, resist the urge to start “setting things up.” There are no folders to create, no tags to pre-plan, and no complex structures to build before you’re “ready.” That’s the entire beauty of learning how to use Mem AI. Your only job in this step is to land on the blank note screen and feel slightly suspicious that there’s nothing more to configure.
There isn’t. Move on.
✍️ Step 2: Write Your First “Messy” Note
This is the step most people overthink. Don’t.
Open a new note and just write something — anything — the way it actually exists in your head right now. A half-finished thought. A task you need to remember. Something from a conversation you had this morning. Don’t pause to think about where it “belongs” or whether it’s organized properly.
For example, you might write something like: “Need to follow up with the vendor about the Diwali order, also check if Priya’s school fee deadline is this week or next.”
That’s it. That’s a real note. Mastering how to use Mem AI starts with writing down two unrelated thoughts exactly as they occurred to you, with zero filing required.
🔗 Step 3: Let “Related Mems” Do Its Quiet Work
As you keep adding notes over the next few days, start paying attention to the sidebar. You’ll notice the app surfacing older notes that relate to what you’re currently typing.
This happens automatically — you don’t trigger it, search for it, or tag anything to make it work. If you wrote about school fees last week and you’re writing about it again today, the algorithm will likely nudge that older note into view.
When discovering how to use Mem AI effectively, simply glance at what it surfaces. You don’t need to act on it every time. Just let it remind you of things you’d otherwise have forgotten you wrote.
💬 Step 4: Try “Mem Chat” With a Real Question
Once you’ve got a handful of notes in the system — even just 10 to 15 — open the AI chat feature and ask it something real. Not a test question, an actual question you need answered.
Try asking:
“What did I decide about this month’s content calendar?” or “What was I supposed to follow up on with the vendor?”
The system will pull the answer directly from what you’ve already written, instead of you scrolling back through days of scattered notes trying to remember where you wrote it. A great tip for how to use Mem AI chat features is to be as specific as possible; vague questions get vague answers.
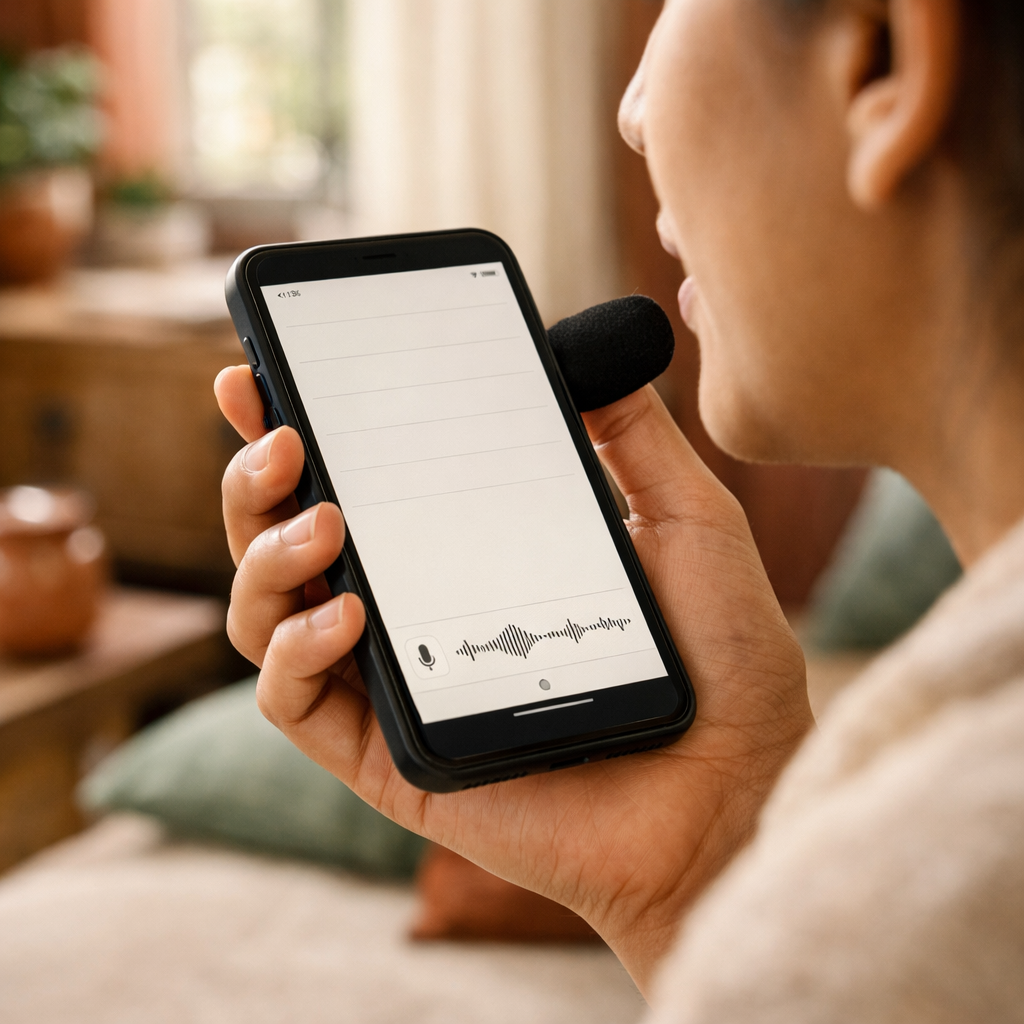
🎙️ Step 5: Set Up Voice Capture for On-the-Go Thoughts
This is the step that quietly changes the most for busy multitaskers.
In the app settings, enable voice capture. Now, instead of stopping what you’re doing to type, you can simply speak a thought out loud — while doing dishes, folding laundry, or sitting in traffic — and it captures it instantly as a note.
Test this right now if you can. Open the app, tap the voice option, and say something out loud the way you’d normally think it. Seeing this feature in action is the fastest way to understand how to use Mem AI as a seamless extension of your mind.
📥 Step 6: Connect Email or Calendar (Optional)
If you want the app to start capturing your day’s “knowledge exhaust” automatically — meeting notes, quick decisions, follow-ups — go into settings and connect your email or calendar.
This step is optional, and it’s worth pausing on the privacy note from yesterday’s post here: only connect what you’re genuinely comfortable having an assistant read through. If you’re unsure, skip this step for now and revisit it once you have a better feel for how to use Mem AI on a daily basis.
🌿 Step 7: Build the Daily Habit
Here’s the honest truth: this tool only works if you actually use it as your dumping ground for stray thoughts. The software doesn’t fail people — people fail to build the habit of opening it.
A simple way to start: for the next 7 days, every time you have a half-formed thought you’d normally lose, open the app and write or speak it down, exactly as it occurs to you. No editing. No organizing. Just capture.
By the end of the week, ask the chat feature a question about something from earlier in the week. That moment — when it pulls up an answer you’d genuinely forgotten — is usually when the habit clicks into place for good.
✅ Quick Setup Checklist
- Sign up and land on the blank note screen
- Write your first messy, unfiltered note
- Notice “Related Mems” surfacing older notes
- Ask the chat feature a real question from your own notes
- Enable and test voice capture
- Decide if/when to connect email or calendar
- Commit to 7 days of capturing every stray thought
The Takeaway
You don’t need to spend weeks learning how to use Mem AI before it becomes useful. Unlike traditional productivity tools, there’s no steep learning curve standing between you and the benefit. The moment you write your first messy note, you’re already doing it right.
The only real skill here is letting go of the urge to organize as you go. Just capture, and let the artificial intelligence handle the rest.
If you want to compare this with other clean dashboard setups, check out my guide on the AI-powered daily planner options like Notion or Copilot!
Have you tried setting up your workspace yet? Tell me which step felt the most unfamiliar — I’d love to know if the “no filing required” part felt freeing or a little strange at first! 💬